Skip to content

Water Week Spotlight: Matt Girard, Hydrant Crew Chief

You pass by dozens of them a day and probably don’t think twice.

Hydrants are all over our city, and some have even been here for over 100 years! This piece of infrastructure is another critical component to water access in our community. Matt Girard, Hydrant Crew Chief, shares with us some of the important work they do each day.

2 utility technicians in dirty blue clothing pose curbside next to the completely operational, newly installed yellow fire hydrant seated in recently turned dirt; nearby are 2 flat round concrete with brown, cast iron-lidded markers
Zone 3 hydrant crew, Matt Girard (right) and Mike Puckett (left)

Matt Girard and Mike Puckett begin their day at our Zone 3 location where they receive their assignments for the day. Depending on the hydrant work that needs to be done, they will work on anywhere from four to eight hydrants in a single day. Matt has been in his role for over 23 years, and Mike recently transitioned within Charlotte Water to work on the hydrant crew just a couple of months ago, so he has quite the wealth of knowledge with Matt as his trainer in this role! Hydrant crews only have two staff members per crew, and one crew for each of our zones. Back in the day, there was only one crew assigned for the entire service area!

Hydrant crews handle all hydrant maintenance, repairs, and painting of hydrants. Hydrants are made out of cast iron, and if taken care of properly, they can last up to 100 years! The oldest hydrant Matt has come across was located in Uptown Charlotte from the year 1887. If you stop and notice, hydrants will have the year they were installed indicated on them. If the hydrant is older than 1930, then you won’t see the date listed on the side.

On this particular day, Matt and Mike start their day on a hydrant repair out in the Matthews area. For this particular repair, the hydrant was leaking, so they were there to determine the cause. To begin, they had to shut off the nearby water valve and take it apart to investigate further. In order to do this they needed to take the stem of the hydrant out to see the bottom of it, to determine the issue.

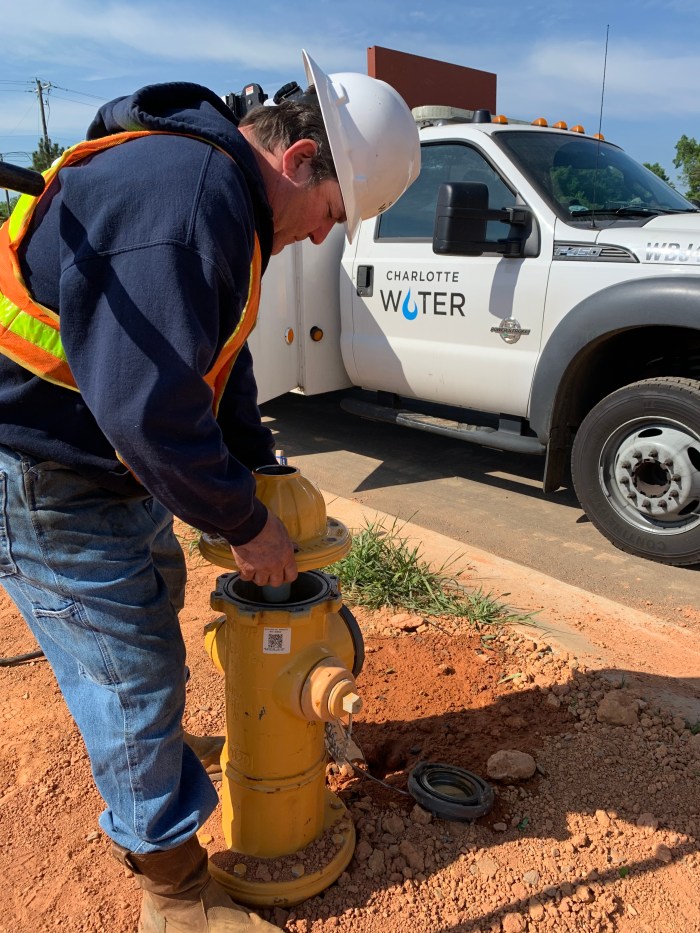
It is quite the manual and labor intensive process to take apart the hydrant. First they must remove the top of the hydrant completely with a socket and impact wrench so they can access the stem and remove it. Then they use hydraulics instead of a manual wrench to remove the stem.
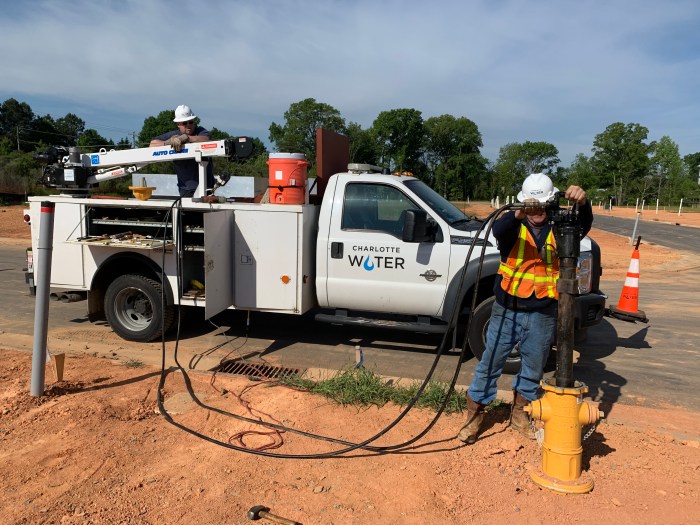
2 black pneumatic hoses run from a white utility truck with Charlotte Water logo into a tall brown pole-shaped tool held by a utility technician wearing orange safety vest and white hard hat as he holds the tool in place inside a new yellow fire hydrant he is installing roadside
utility technician wearing navy blue t-shirt and white helmet with Charlotte Water logo on it stands next to newly installed yellow fire hydrant, he uses a black pole to lower a copper cufflink type valve inside of the hydrant's tower
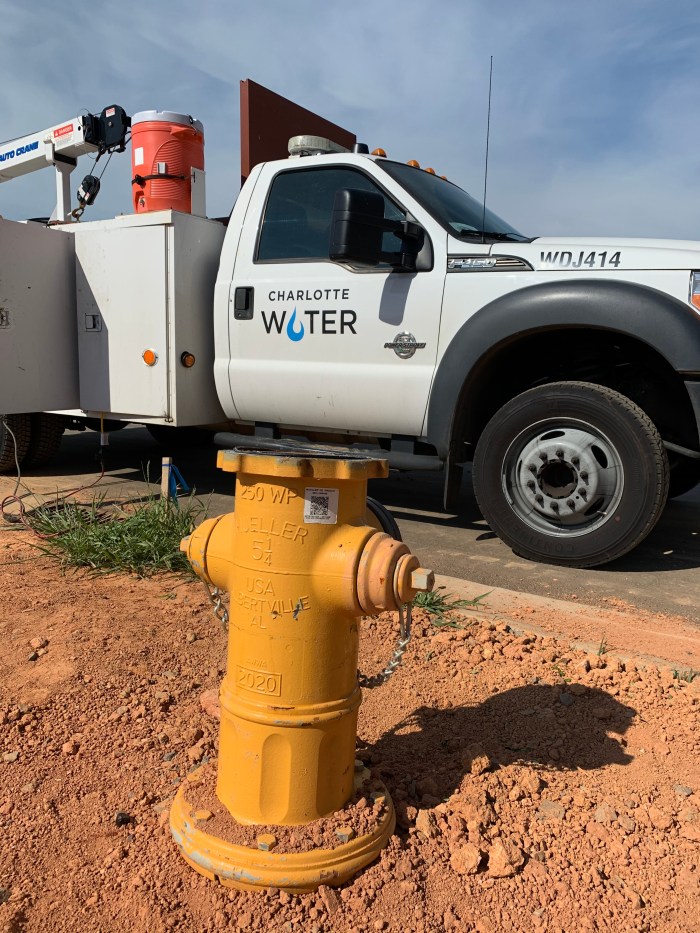
new yellow fire hydrant in process of being installed in recently dug reddish earth dirt awaits to have its cap bolted on as it sits curbside next to white utility truck with Charlotte Water logo on door
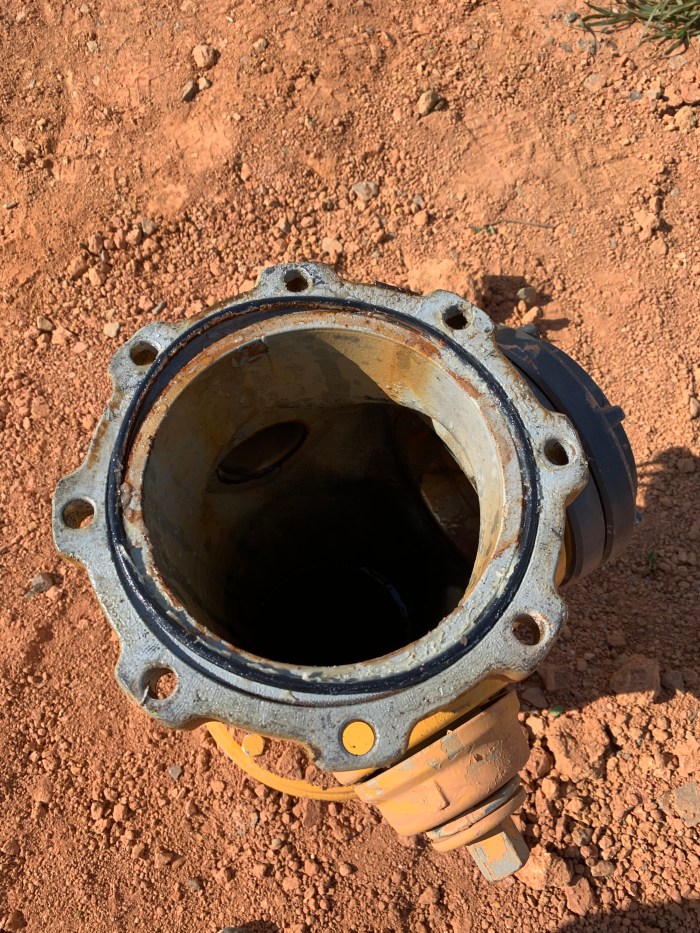
view looking down into a yellow fire hydrant without its top cover, the perimeter of the opening is a grey metal flange with holes for bolts, loose reddish brown dirt surrounds the unit

Once the stem is removed completely, they are able to see the cause of the leak. Matt explains that the valve was not shutting off properly due to damage to the rubber valve at the bottom. This damage was likely caused by debris that was not flushed out properly and caused wear and tear on the rubber valve.
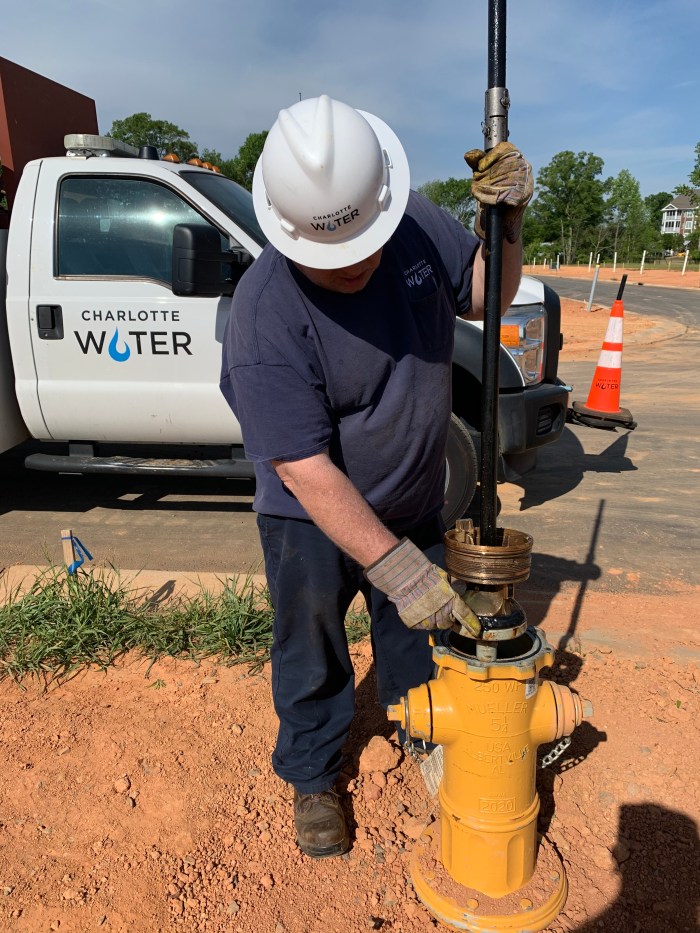
utility technician wearing navy blue t-shirt and white helmet stands next to newly installed yellow fire hydrant, he uses a black pole to lower a copper cufflink type valve inside of the hydrant's tower, a white utility truck with Charlotte Water logo on door an orange traffic cone appear behind him on the roadway
Matt pointing to the cause of the leak – the rubber valve, which acts as a seal, has been damaged

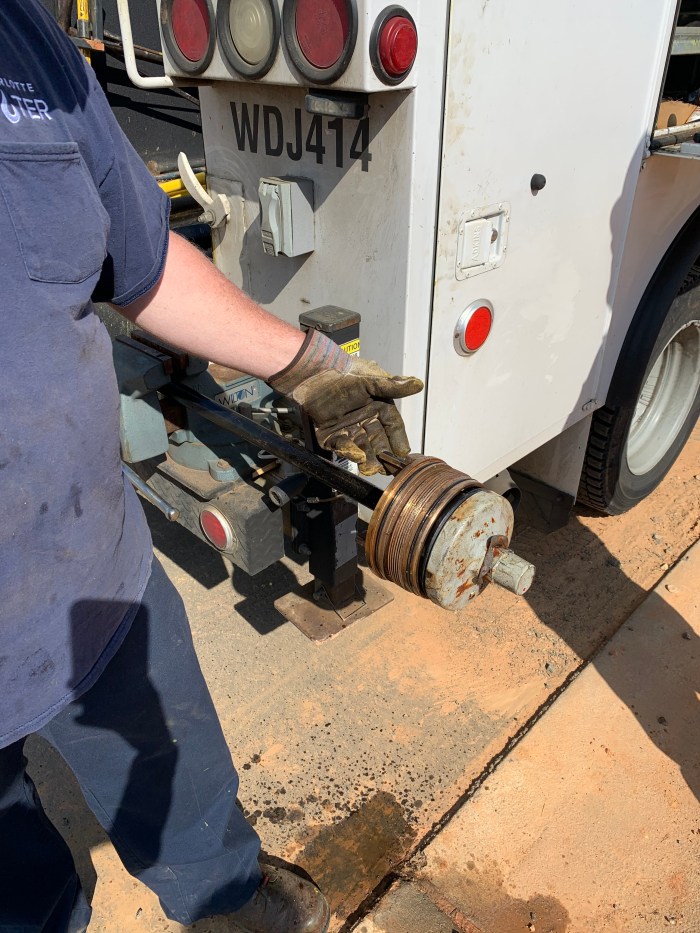
Matt and Mike take the stem and valve back to their truck to remove and replace the main valve. The main valve acts as a seal to shut the hydrant off when it is use. Since it is made of just rubber, it can be damaged over time if not flushed properly.
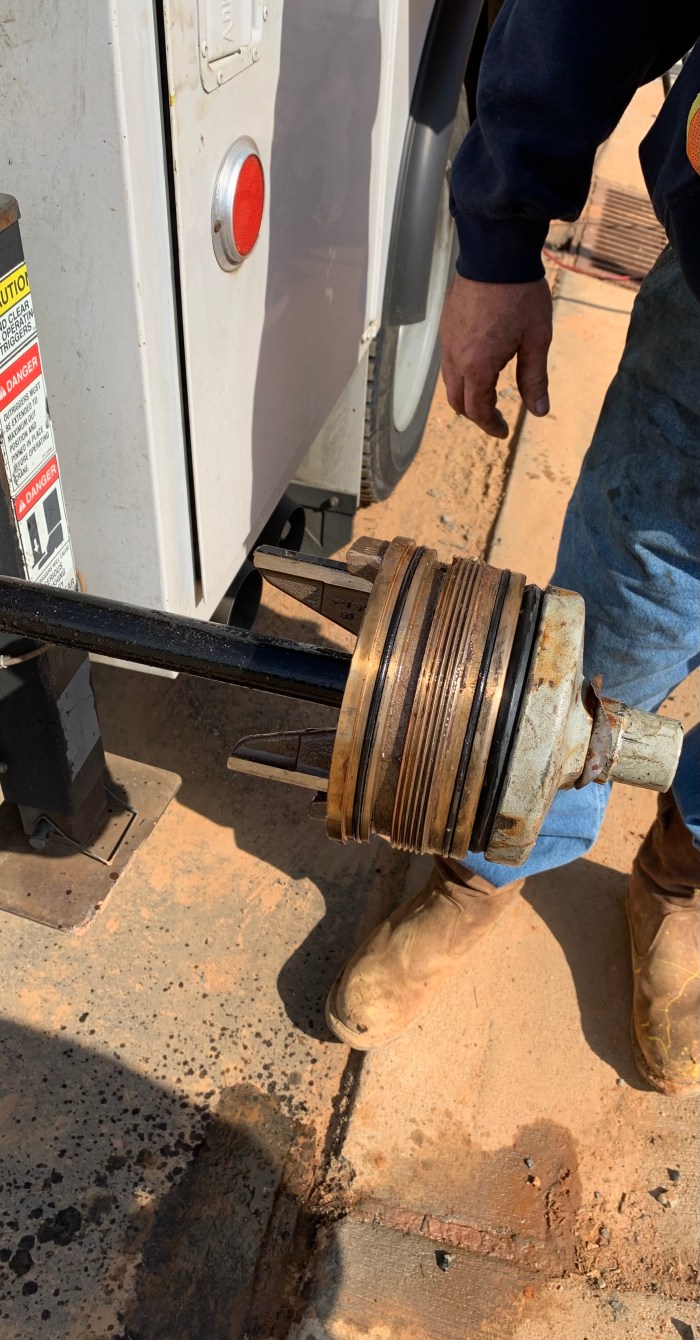
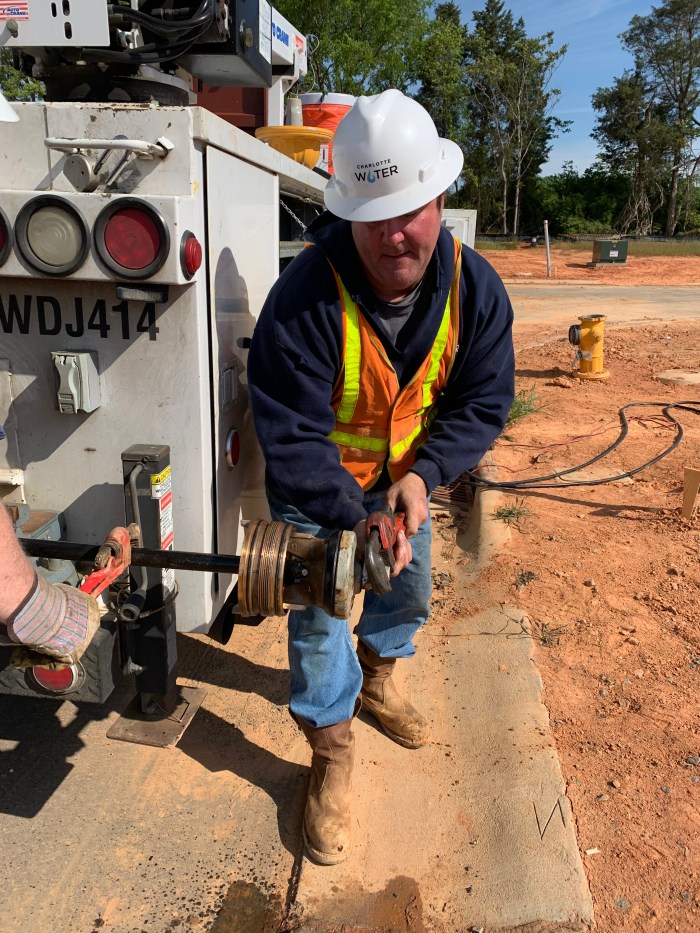
close up view of a cylindrical, copper cufflink styled part attached to a long pole as it awaits removal from the back of a utility truck
utility technician wearing orange safety vest and white hard hat uses an orange pipe wrench to grab hold of copper cuff-link topped part from its holder on the back of a white utility truck
grey gloved hand of a utility technician shows off a copper cufflink part as it is poised from removal from its holder on the back of a white utility truck

After the rubber valve has been replaced and sealed, the stem is put back into the hydrant.

utility technician wearing navy blue t-shirt and white helmet stands next to newly installed yellow fire hydrant, he inserts a black pipe with a copper cufflink type valve inside of the hydrant's tower

When putting the stem back in, they slowly turn water valve back on to help seal it into place. This process helps to push all of the air out and seal it. When they start to see the water, they will pull it up manually to seal it, turn it one more time to keep it in place, put the top back on, then attach the hose and turn the water valve up all the way and push out any remaining air.
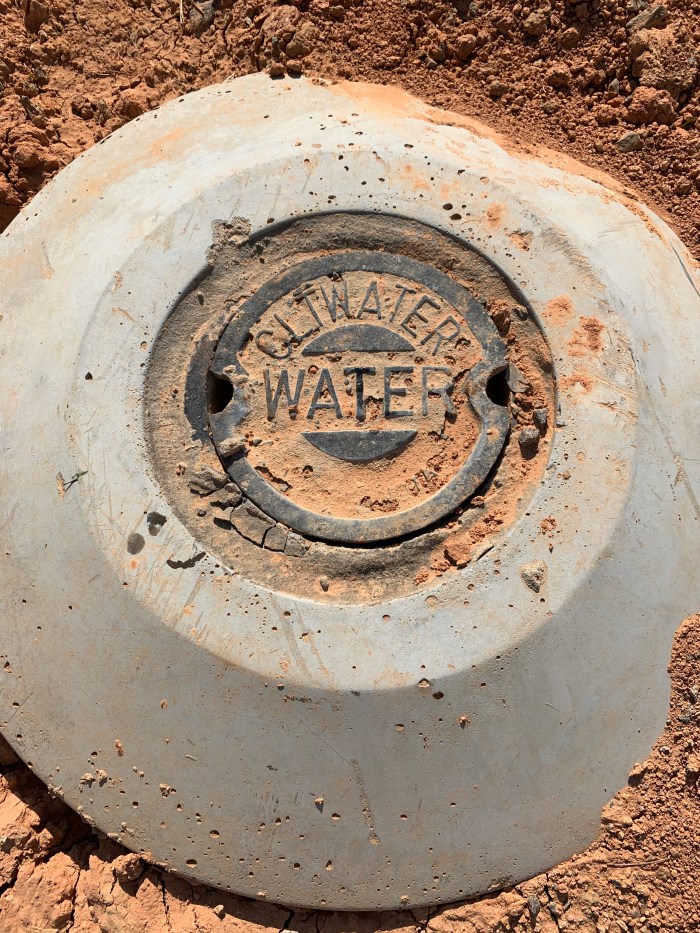
grey round concrete and metal marker newly installed in the dirt, CLTWater WATER are inscribed into the metal lid
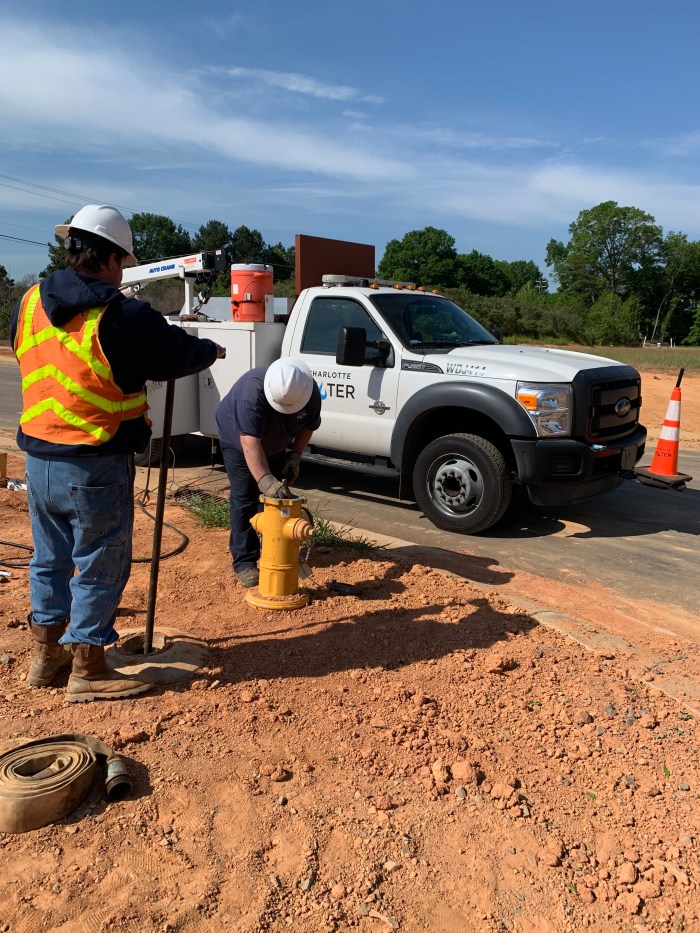
while utility technician in navy blue t-shirt and white hard hat bends down to work on the open top of a newly installed yellow fire hydrant, a second utility technician wearing an orange safety vest and white hard hat stands near by operating a tall metal key wrench he's inserted into a water meter hole in the dirt, also nearby is a white utility truck with Charlotte Water logo on door
utility technician wearing orange safety vest and white hard hat bends over newly installed yellow fire hydrant as he places its yellow dome lid on top of its tower stack, a white utility truck with Charlotte Water logo is parked curbside nearby
utility technician bends down over a newly installed yellow fire hydrant, with a red power bolt driver he bolts the yellow lid of fire hydrant to its top
newly installed yellow fire hydrant is tested as a tan, flat fabric fireman's hose has been hooked up to it, a large pipe wrench is also attached to the top of the fire hydrant
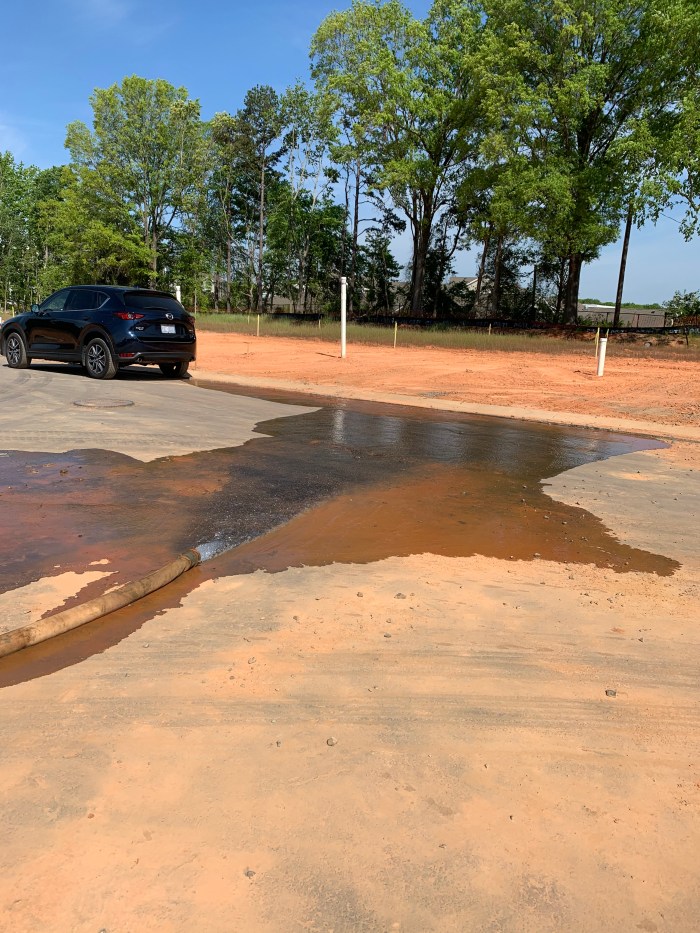
water pools and spills across a suburban, tree-lined street with a black SUV parked nearby

After that is complete, the final step is to let the hydrant drain for about five minutes, while they clean up and put any materials back in the truck. Then they seal it up and paint the hydrant if needed, then on to the next one!

utility technician in blue t-shirt and white hard hat, holding a mini-sledge hammer, kneels in recently dug dirt next to newly installed yellow fire hydrant
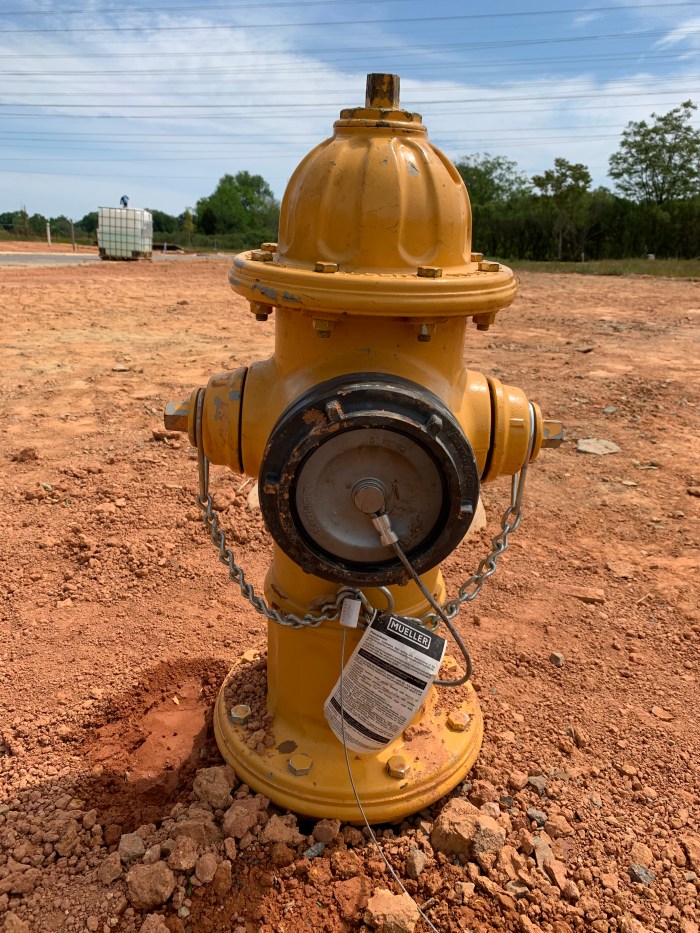
ground-level view of a newly installed yellow fire hydrant sitting in dirt, facing us with its black, round gasket front secured with a short cable and chains

Thank you to Matt and Mike for letting us follow along with your day, and thank you for all that you and the hydrant crews do to keep our hydrants working properly throughout the community!

We hope you have enjoyed following along all week and learning more about a “day in the life” of some of our staff members during National Drinking Water Week!

Continue to follow us on social media to stay in the know on all things Charlotte Water!


Facebook

Twitter

Instagram

LinkedIn


Discover more from Charlotte Water Blog

Subscribe now to keep reading and get access to the full archive.

Continue reading

document.addEventListener('DOMContentLoaded', function () { const observer = new MutationObserver(() => { document.querySelectorAll('.jetpack-instant-search__search-result-expanded__image').forEach(img => { if (!img.hasAttribute('alt')) { img.setAttribute('alt', ''); } }); }); observer.observe(document.body, { childList: true, subtree: true }); });